Want your homebrew RPG to shine? Start with a well-formatted rulebook. Even the best game mechanics can fall flat if players struggle to navigate your rules. Here's the key: a clear, organized rulebook makes learning faster, gameplay smoother, and the overall experience more enjoyable.
What you'll learn:
- Why formatting matters: Easy-to-read rules reduce confusion and keep the game flowing.
- Common issues and fixes: Avoid walls of text, inconsistent terms, and cluttered layouts.
- Essential sections: Include Quick Start Guides, Core Rules, and handy appendices.
- Navigation tips: Use clear headings, visual cues, and cross-references for quick rule lookups.
- Design basics: Fonts, spacing, and graphics that enhance readability.
Whether you're creating your first rulebook or refining an existing one, these tips will help you craft a guide that's simple to use and keeps players focused on the fun.
Designing an RPG book? You need STYLE
Building a Clear Rulebook Structure
A clear and organized rulebook makes gameplay smoother and keeps players engaged. Here's how to structure your homebrew RPG rulebook effectively:
Essential Sections for Your Rulebook
Every homebrew RPG rulebook should include these main sections, arranged in a logical order:
| Section | Purpose | Key Elements |
|---|---|---|
| Quick Start Guide | Gets players into the game quickly | Core mechanics, character creation basics |
| Core Rules | Explains fundamental mechanics | Combat, skills, magic systems |
| Character Creation | Guides players through character setup | Classes, races, attributes, skills |
| Equipment & Resources | Lists items and their effects | Weapons, armor, items, currency |
| Game Master Guide | Helps the GM run the game | NPCs, encounter design, world-building |
| Appendices | Provides quick reference materials | Charts, tables, glossary |
Once you’ve outlined these sections, focus on organizing them in a way that makes finding rules easy.
Making Rules Easy to Navigate
Here are some tips to ensure players and Game Masters can quickly locate the information they need:
1. Use a Three-Level Hierarchy
Break down complex topics into smaller, manageable sections. For instance:
Chapter 3: Combat
- 3.1 Initiative and Turn Order
- 3.2 Actions in Combat
- 3.2.1 Standard Actions
- 3.2.2 Movement Actions
- 3.2.3 Free Actions
This structure makes it simple to follow and reference.
2. Add Clear Visual Cues
Help readers navigate with tools like:
- Color-coded tabs for chapters
- Headers showing the current section title
- Icons to indicate different rule types
- Sidebar highlights for key rules
3. Use Cross-References
Whenever you mention related rules, include page numbers or section details. For example: "For additional options, see Combat Maneuvers (p. 45)."
Creating Handy Reference Tools
Reference tools can save time during gameplay and reduce the need to flip through pages:
- Table of Contents: Include all sections, down to third-level headings, with page numbers. Use indentation to show hierarchy, and consider adding a quick-reference page.
- Index: Offer multiple entry points for topics, cross-reference related terms, and list both general and specific rules with their page numbers.
- Quick Reference Sheets: Summarize frequently used rules on one page, create printable cards for common mechanics, and include useful charts or tables. Ensure these are easy to photocopy or share.
These tools make your rulebook more user-friendly and help players stay focused on the game.
Page Design Basics
Setting Up Page Format
Start with standard page dimensions that work well for both digital and print formats. For example, use 8.5" × 11" (US Letter) or 6" × 9" for physical books. Set margins between 0.75" and 1" to ensure the text stays readable and doesn’t get lost in the binding.
Keep headers and footers consistent:
- Headers: Include the chapter title on one side and the section name on the other.
- Footers: Place page numbers and any reference codes.
- Running text width: Aim for 4.5" to 6" for easy reading.
- Columns: Stick to a single column for the main text, but you can add an optional sidebar column about 2-2.5" wide.
Once the basics are in place, you can improve the layout by adding visual elements.
Adding Graphics and Boxes
Visual elements make your content easier to understand and more engaging.
| Element Type | Purpose | Best Practices |
|---|---|---|
| Rule Boxes | Highlight key mechanics | Light gray background, 2pt border |
| Example Boxes | Show rules in action | Subtle border, italicized text |
| Sidebars | Share optional rules | Keep width to 25% of the page |
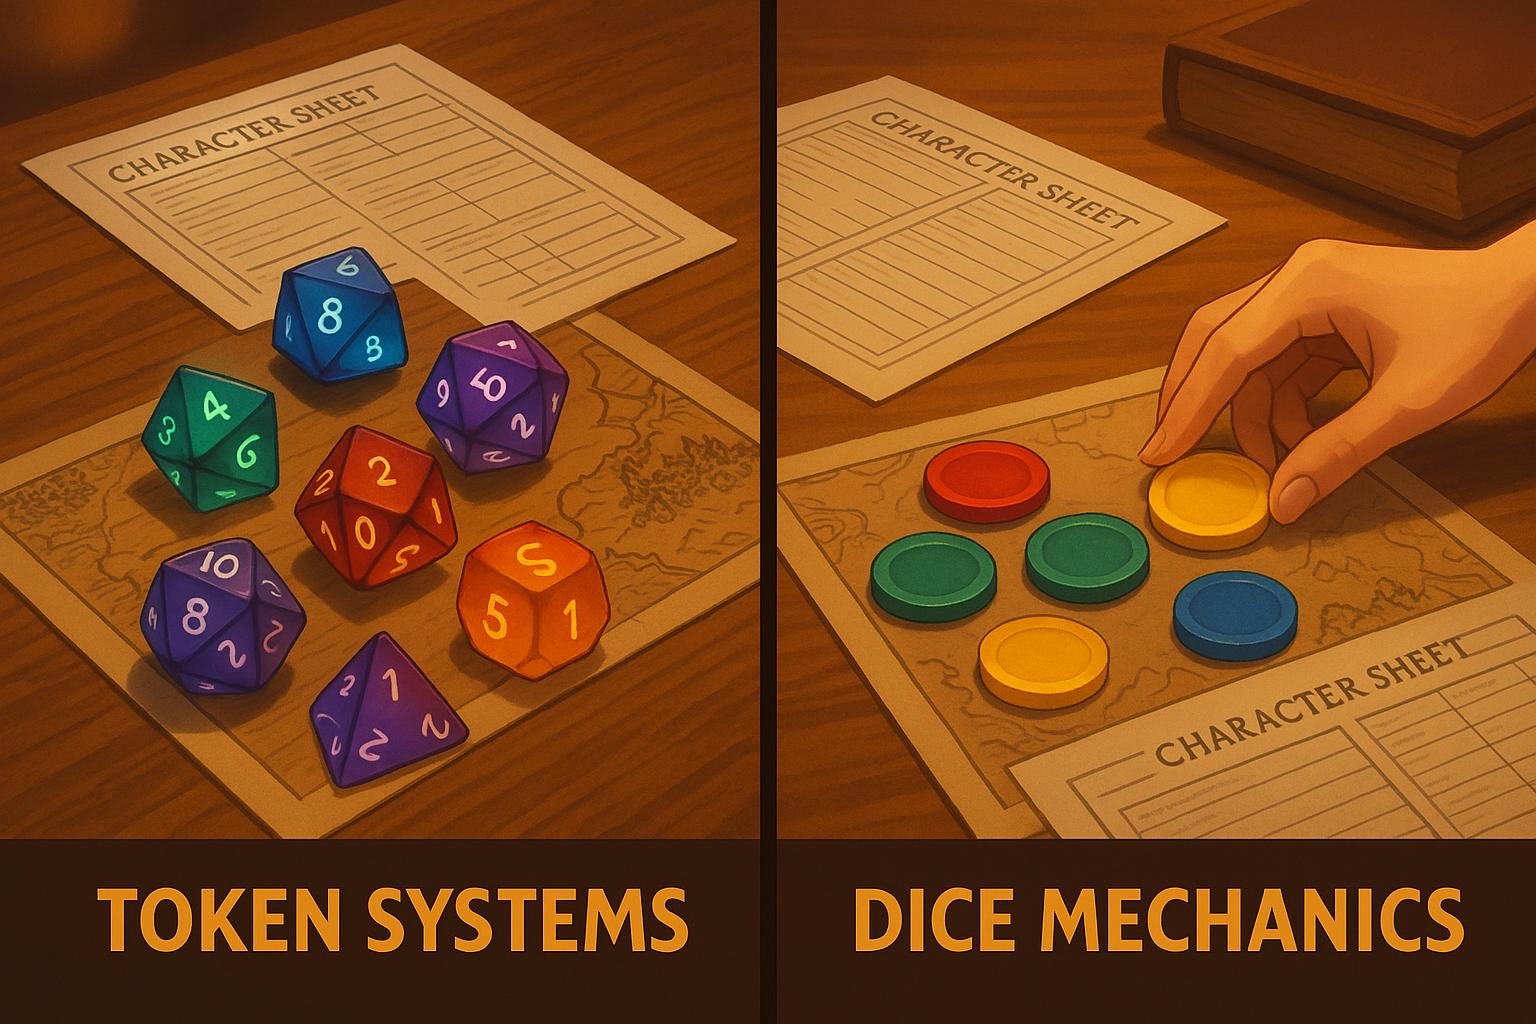
| Diagrams | Explain complex ideas | Keep them simple and use a consistent style |
When placing graphics:
- Leave 0.25" of space between graphics and the main text.
- Align graphics with paragraph breaks for a clean look.
- Size illustrations to match the column width.
- Use vector graphics whenever possible to ensure sharp scaling.
Using Space Effectively
Good spacing improves readability and keeps your pages visually balanced:
- Add 12pt spacing after paragraphs and 24pt spacing before new sections.
- Set line spacing between 1.15 and 1.5 for body text.
- For lists, leave 6pt spacing between items.
To keep the text flowing smoothly:
- Limit paragraphs to 3-5 sentences.
- Avoid leaving single lines (orphans) at the top or bottom of pages.
- Use 0.25" indentation for nested content.
- Leave 15-20% of the page as white space to avoid overcrowding.
sbb-itb-b8b00a5
Text Formatting Guidelines
Refine how your written content looks and feels with these practical text formatting tips.
Font Selection Guide
For extended reading, stick with serif fonts like Palatino, Garamond, or Crimson Text. Pair these with sans-serif fonts such as Futura, Lato, or Open Sans for headers to create a balanced look.
Here’s a quick font size guide:
- Main body text: 10–12pt
- Chapter titles: 24–28pt
- Section headers: 16–18pt
- Subsection headers: 14–16pt
- Footnotes and references: 8–9pt
To keep your design cohesive, limit yourself to two or three typefaces. For example, you might use Palatino for the body text and Futura for headers, adjusting weights and sizes to create a clear hierarchy.
Once your fonts are set, use emphasis techniques to make important details stand out.
Text Emphasis Methods
Highlighting key details is essential. Use these emphasis styles consistently:
| Emphasis Type | Best Used For | Example |
|---|---|---|
| Bold | Key rules or terms | "Damage Roll: Roll 1d20 + Strength" |
| Italic | Examples or descriptions | "The dragon's scales shimmer in moonlight" |
Monospace |
Code or stats | "STR: 18 (+4)" |
| Bold Italic | Critical warnings | "Never mix these effects" |
Stick to a single pattern for emphasis. For instance, if skill names are bold, use that format throughout. Avoid mixing emphasis styles unless absolutely necessary.
After emphasizing the key points, focus on spacing to enhance readability.
Text Spacing and Layout
Good spacing makes your content easy to read and navigate:
- Set paragraph spacing to 1.5× the line height.
- Justify body text in columns for a polished look.
- Keep line lengths between 45 and 75 characters for readability.
When dealing with stats or rules:
- Left-align stat blocks for better scanning.
- Indent nested details by 0.25 inches.
- Use hanging indents for lengthy rule descriptions.
- Add at least 6pt padding inside table cells.
These spacing and layout tweaks will make your content more organized and visually appealing.
Writing Clear Game Rules
Simple Rule Writing Tips
Writing clear game rules requires straightforward language and logical structure. Break down complex mechanics into smaller, easy-to-understand sections.
Use active voice and present tense for clarity:
- Instead of: "Damage would be calculated by..."
- Write: "Calculate damage by..."
Introduce and format important game terms the first time they appear:
| Term Type | Formatting | Example |
|---|---|---|
| Game Mechanics | Bold | Saving Throw, Attack Roll |
| Character Stats | Monospace |
STR, DEX, CON |
| Special Actions | Italic | Dodge, Parry, Block |
Focus on the main rule details first, and then explain any exceptions. For more complicated rules, start with a basic version and follow up with advanced options.
Visual aids can also help make these rules easier to understand.
Visual Rule Explanations
In addition to clear written instructions, visuals can make rules easier to grasp:
- Flow Charts: Show decision paths with no more than 3–4 decision points to keep them simple.
- Example Boxes: Highlight examples with a clear layout:
- Set up the scenario
- Walk through the steps
- Show the final result
- Reference Tables: Use tables for quick access to frequently used details:
| Action Type | Time Cost | Effect Range |
|---|---|---|
| Standard | 1 action | 5 feet |
| Move | 1 action | Speed × feet |
| Bonus | Free | Self only |
Stat Block Design
Stat blocks should be designed for quick and easy reference. Here's a simple format:
CREATURE NAME
Size | Type | Alignment
-------------------------
HP: ## (##d## + ##)
AC: ## (source)
Speed: ## ft.

| STR | DEX | CON | INT | WIS | CHA |
|-----|-----|-----|-----|-----|-----|
| ## (+#) | ## (+#) | ## (+#) | ## (+#) | ## (+#) | ## (+#) |

ABILITIES
• Ability Name: Description
• Ability Name: Description

ACTIONS
• Action Name: Description
Ensure consistency across all stat blocks in your rulebook. Use clear visual separation, such as horizontal lines or spacing, to distinguish different sections. Place key stats like HP, AC, and core abilities at the top for quick access.
Conclusion: Finishing Your Rulebook
Tips for Success
Take time to review your rulebook carefully. Check for clear instructions and consistent formatting throughout. A well-structured layout makes it easier for readers to follow.
Finding Example Rulebooks
Looking at other successful rulebooks can be incredibly helpful. The TTRPG Games Directory offers a variety of well-designed examples. Studying these can provide ideas and insights to improve your own rulebook's structure and presentation.